Add your first IP
Create an IP as a private draft, then set its terms and decide who can see it.
- 1
Start from Create IP
Open the Create menu in the top bar and choose Create IP. You can also use the Create IP button on your dashboard's IP tab.
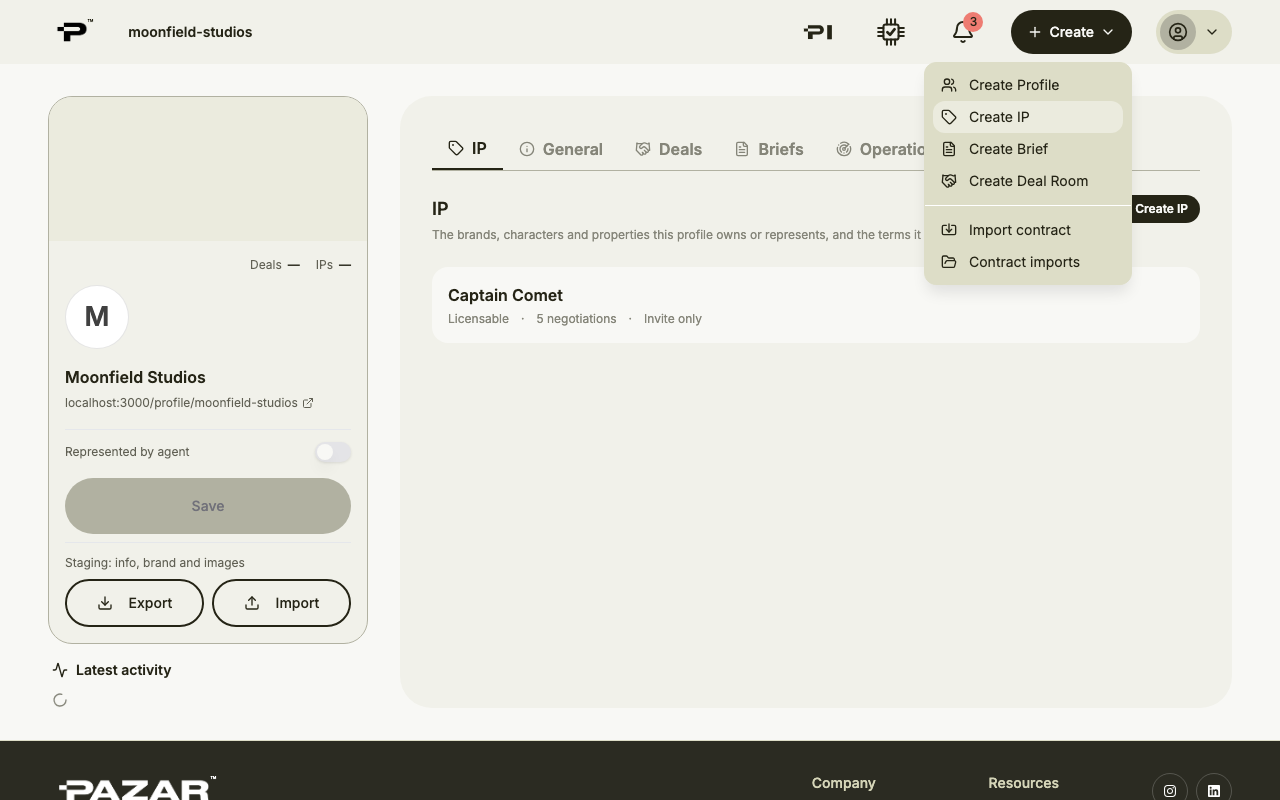 Only a rights-holder profile can own an IP. If you see No Profiles Found, set up a profile first.
 - 2
Name and describe it
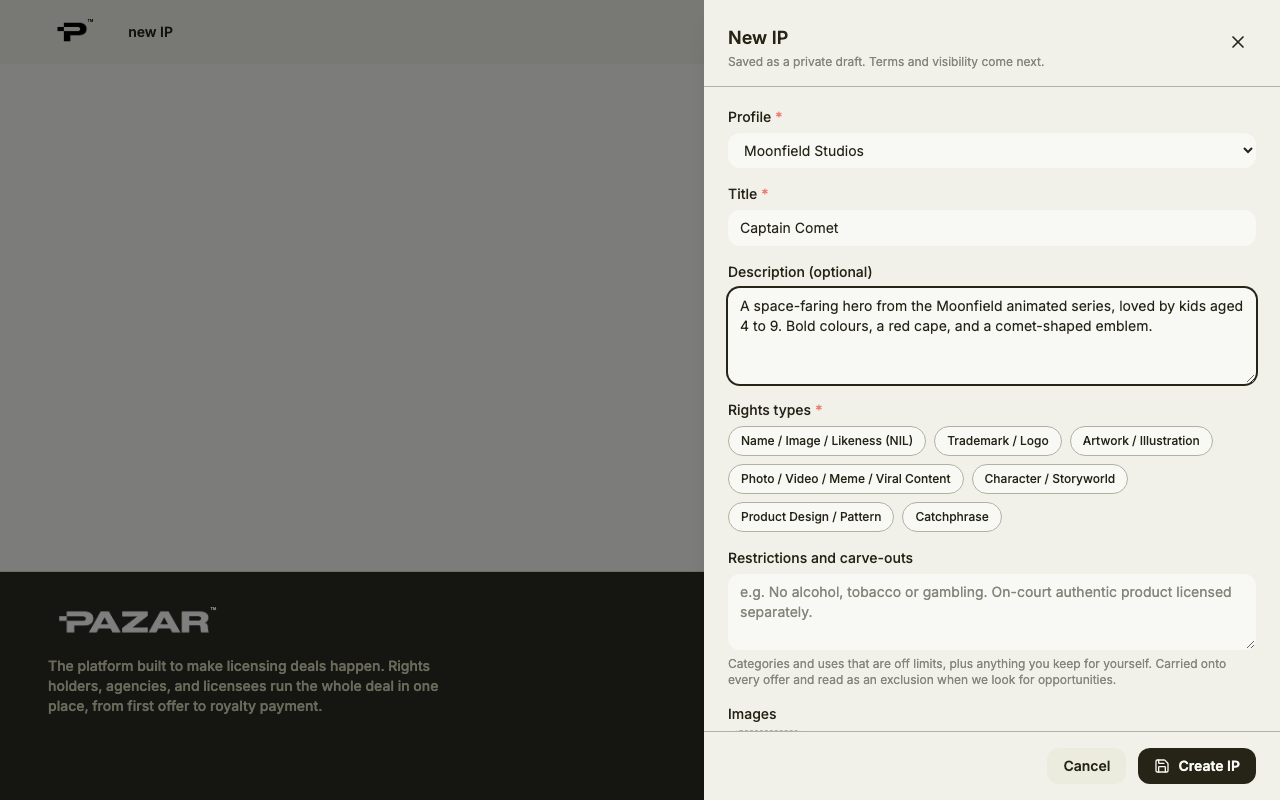
In the New IP panel, pick the profile that owns the IP, give it a title of at least three characters and, if you like, a description.
- 3
Choose the rights types
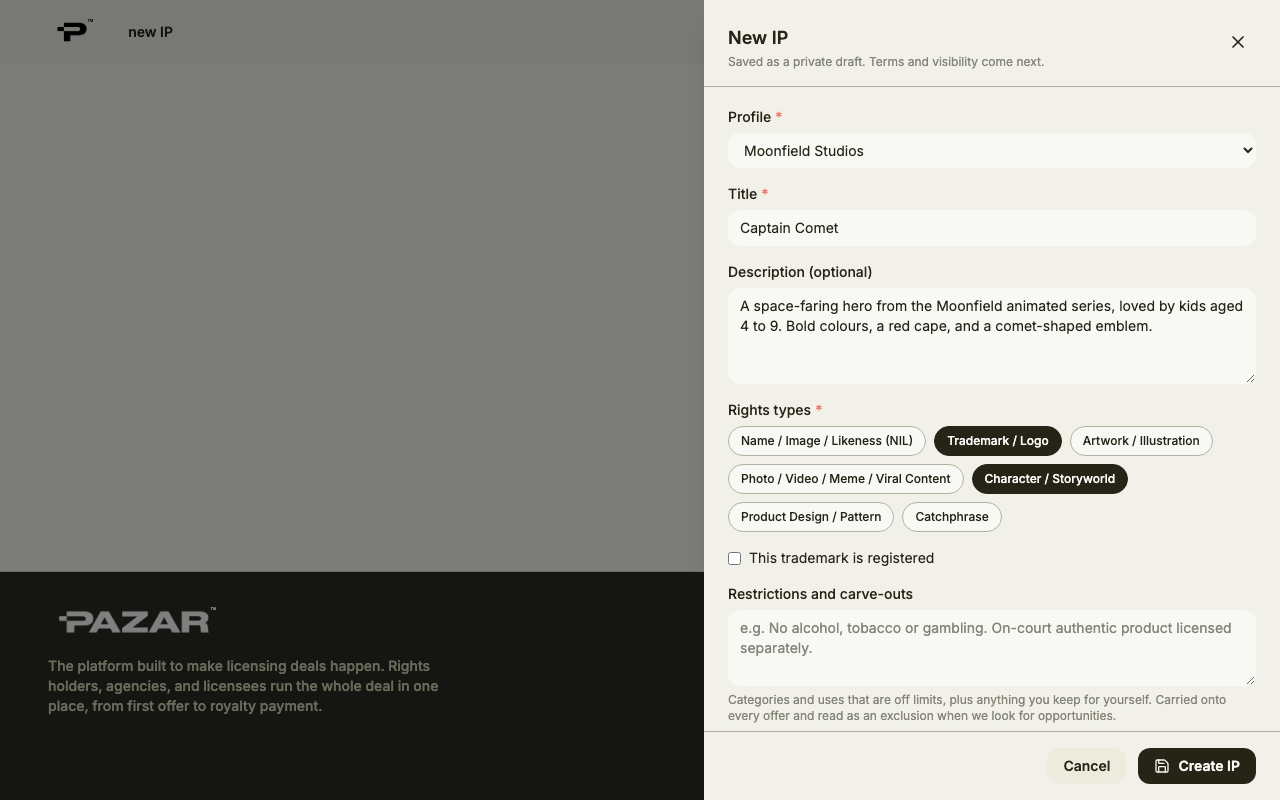
Select every kind of right this IP covers, for example Name / Image / Likeness (NIL), Trademark / Logo or Character / Storyworld. Choosing Trademark lets you mark it as registered; choosing Catchphrase asks for the phrase itself.
- 4
Add restrictions and images
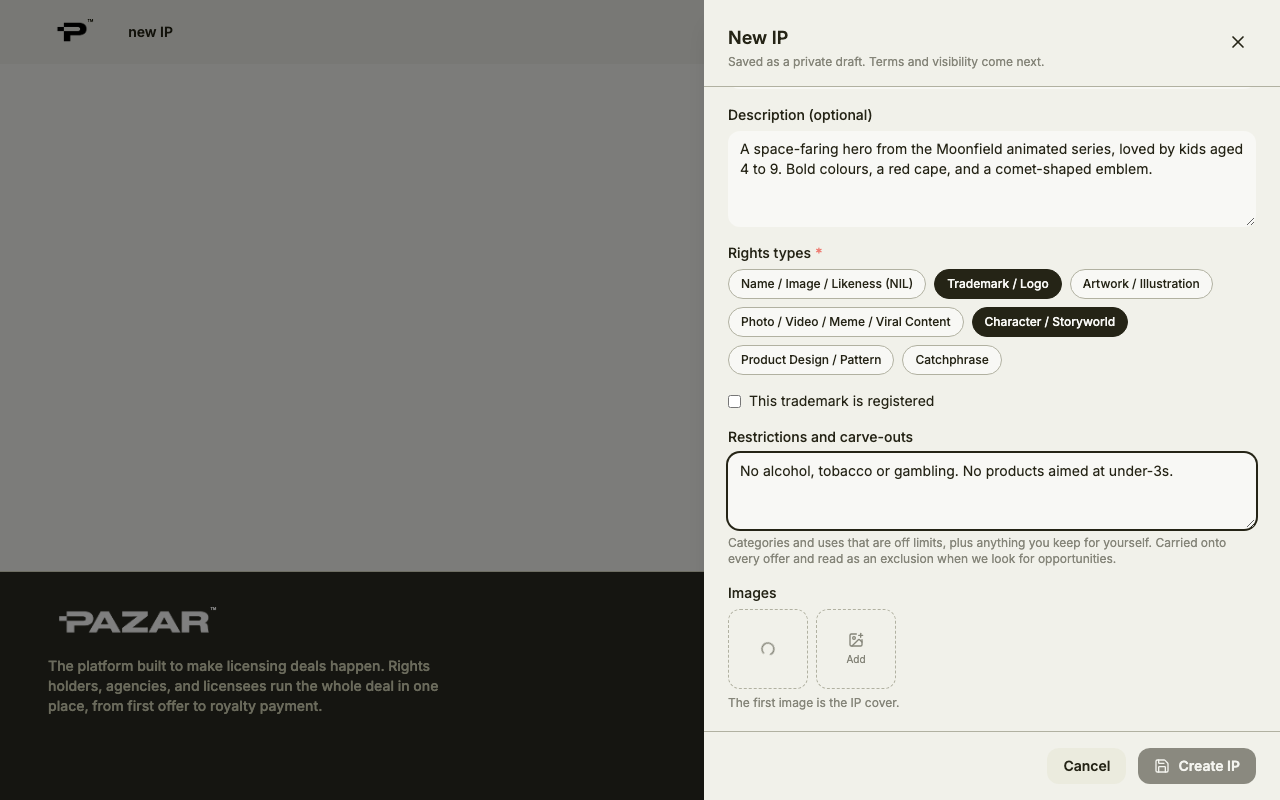
Note any restrictions and carve-outs partners should know about, and upload images. The first image becomes the IP cover.
- 5
Create the draft
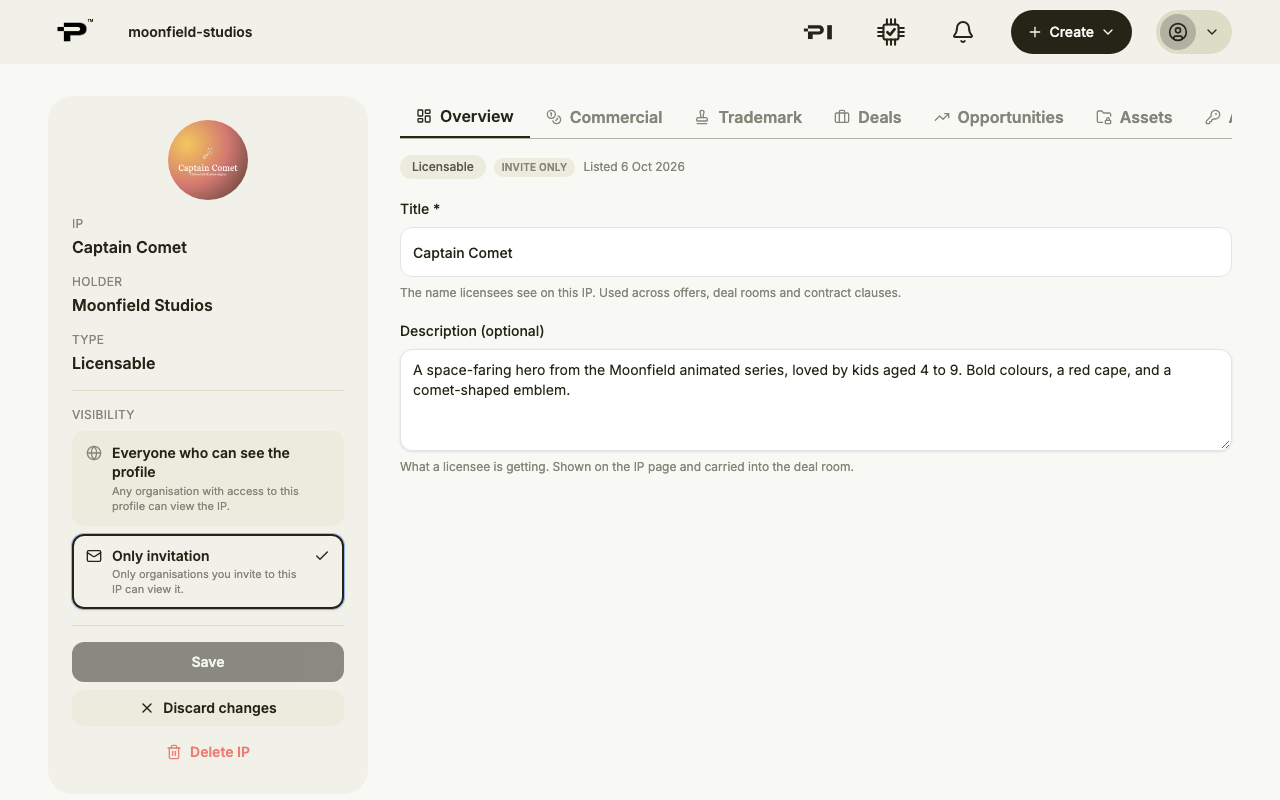
Click Create IP. You land on the new IP's page. It starts as a private, invite-only draft, so nobody sees it until you choose to share it. Terms and visibility come next.
Still stuck? Contact us